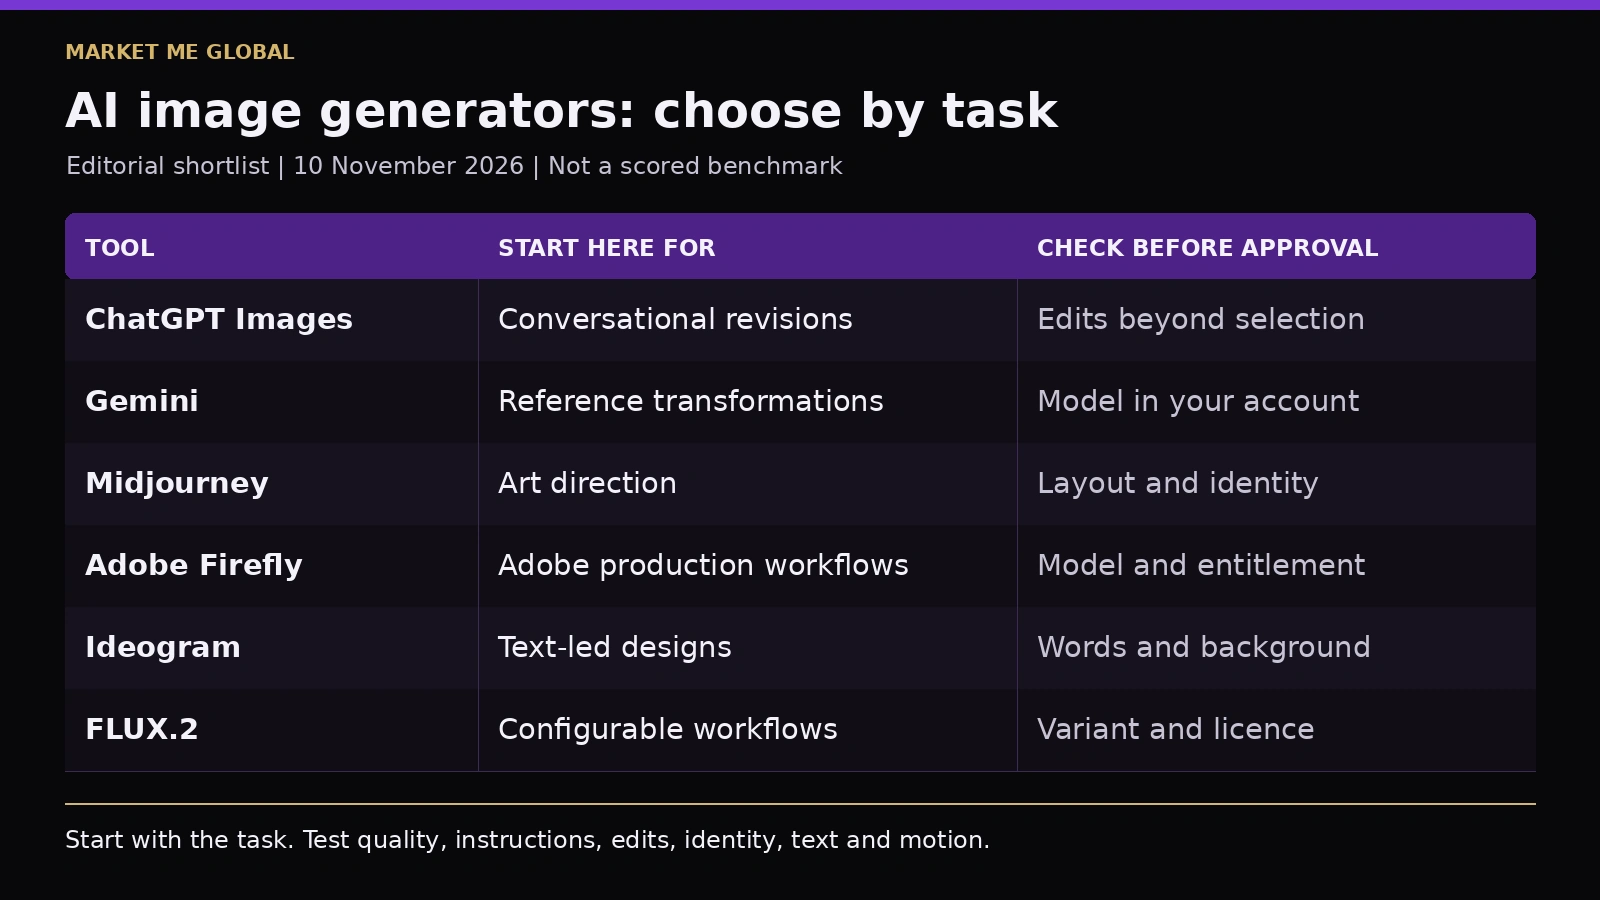
For a practical starting shortlist, consider ChatGPT Images or Google’s Nano Banana for conversational creation and editing, Midjourney for art direction, Adobe Firefly for Adobe-based production, Ideogram for text-led designs, and FLUX.2 for configurable image workflows. These are task-based recommendations, not a universal quality ranking.
The right AI image generator is the one that can deliver your brief and survive the revisions. A beautiful first image is only half the job if the next edit changes the product, misspells the headline or gives your recurring character a different face.
This guide checks current product documentation as of 10 November 2026 and supplies workflows you can try yourself. It does not claim a controlled hands-on test of every platform. The example prompts are reusable starting points, not guaranteed results.
What to compare before choosing a tool
An AI image generator creates visual content from instructions, reference images or both. An image editor changes existing content. Many products now combine these roles, but their controls and output formats still differ.
Judge six things separately:
- Image quality: Inspect materials, anatomy, perspective, reflections and small edges. Dramatic lighting can hide structural mistakes.
- Prompt following: Check object counts, positions, colours and exclusions. A polished image can still fail the brief.
- Editing: Ask for one specific change, then inspect everything that should have stayed unchanged.
- Character consistency: Compare identity, proportions, clothing and distinctive features across different scenes.
- Text rendering: Check the exact words, punctuation, spacing and readability at the intended size.
- Animation: Inspect identity and geometry over time, camera movement, unwanted motion and the loop boundary when relevant.
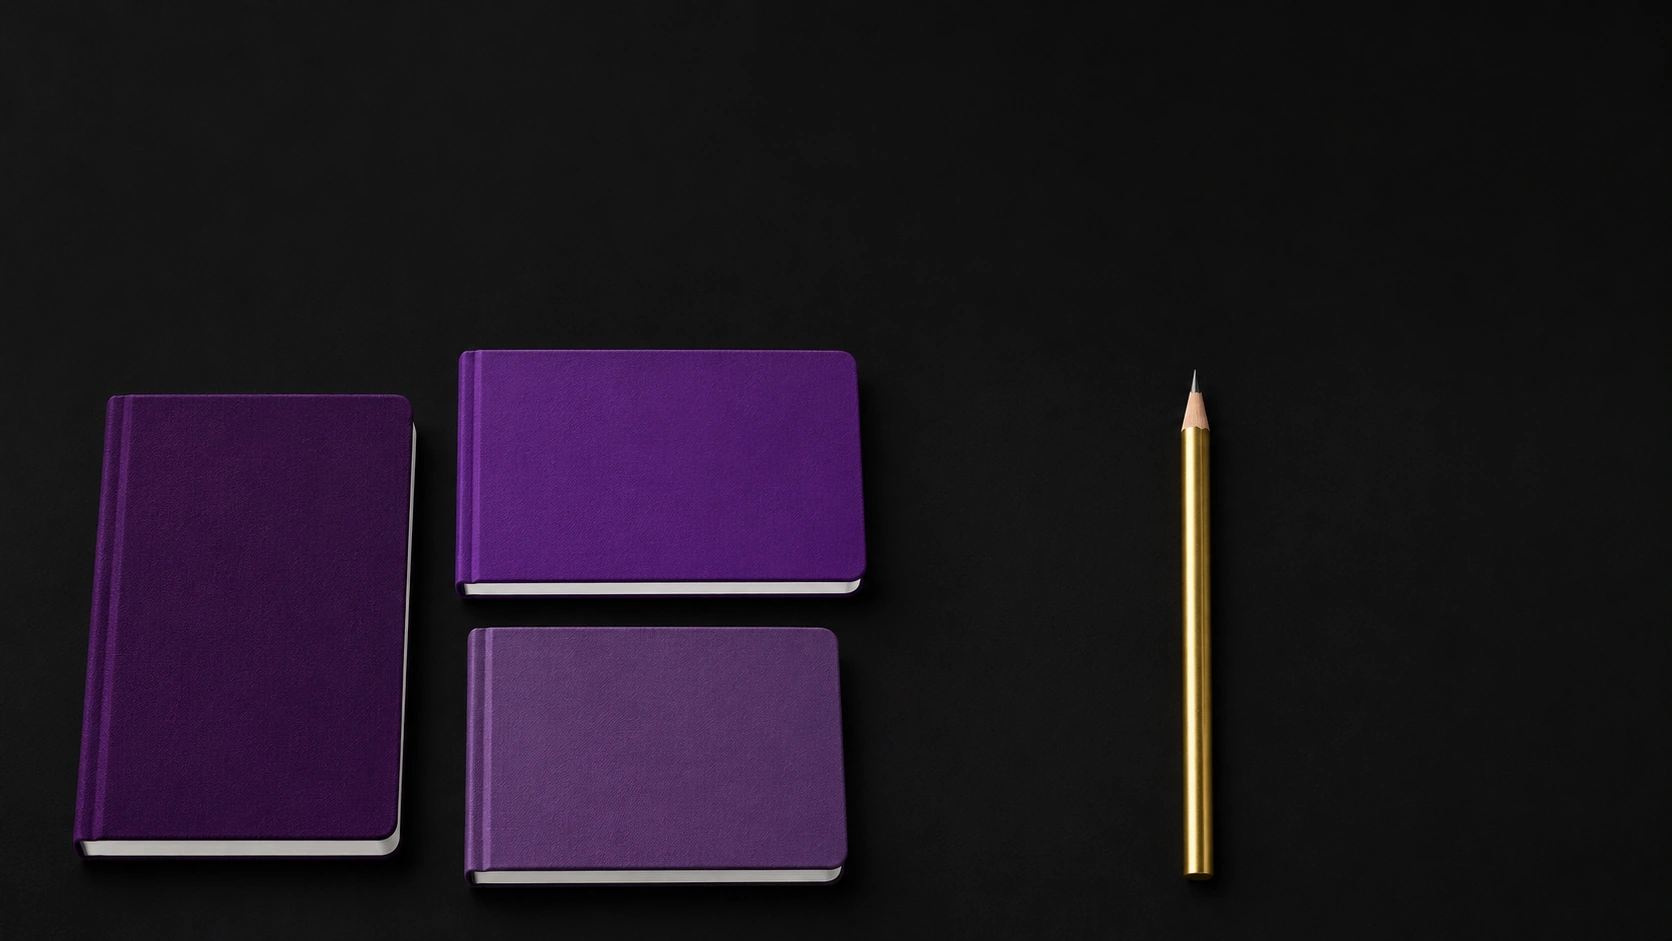
Run a small acceptance test before committing to a subscription. Request three purple notebooks on the left, one gold pencil on the right and clear space above. Then change only the background. Add a short headline in a separate trial. Record the exact model, settings, attempts, elapsed time and failures.
This is a proposed reader test, not a result reported here. Compare several outputs rather than picking one lucky image. Count the time spent repairing them too. The useful cost is the cost of an approved asset, including revisions and finishing work.
Which AI image generator should you use?
ChatGPT Images: a starting point for iterative briefs
ChatGPT’s image documentation describes generating from text, uploading an image, requesting changes and selecting an area to edit. The current help page identifies Images 2.6. This makes it a sensible shortlist choice when you want to refine the brief in conversation.
For text, supply the wording explicitly and inspect every character. For continuity, reuse the approved image rather than describing the subject again. OpenAI warns that edits can extend beyond a selected region, so inspect the surrounding area after local changes. Conversational convenience should not replace comparison with the original. OpenAI Help Center
Gemini and Nano Banana: reference-based transformations
Google’s current Gemini image page promotes Nano Banana 2.1, including reference-based style changes and visual transformations. Its February Nano Banana 2 announcement documents text rendering, subject consistency and instruction-following improvements for that release.
Gemini belongs on your shortlist for turning an existing visual into a different setting or treatment. Google’s public pages are not fully synchronised on model naming, so check the model available in your account. Do not assume every reference limit or control from one release applies to another. Text and subject fidelity still need approval against the brief. gemini.google
Midjourney: art direction with current editing controls
For illustration, atmosphere and a deliberately designed visual style, Midjourney is worth evaluating. Its version documentation lists V8.2 as the current default and describes its aesthetic and personalisation focus.
Its Edit Model supports written instructions, up to four reference images, local editing and canvas expansion on V8.1 and V8.2. Older tutorials built around V7 Omni Reference should not be followed as current V8 instructions. References are useful for recurring subjects; inspect exact identity and product geometry rather than assuming they are locked. Test literal layout and typography requirements separately from overall style. Midjourney
Adobe Firefly: images that continue through production
Firefly is a practical candidate when the work already passes through Adobe applications. Adobe’s Firefly API overview documents Image Model 5, natural-language Instruct Edit, product compositing and custom models for recurring subjects or styles.
Evaluate it on the complete workflow: generating the visual, fitting the product into the scene and finishing the asset. For precise campaign copy, keep typography editable in your design application. Adobe’s business documentation describes integrations and conditional enterprise IP indemnification. Those contractual protections depend on the purchased entitlement and applicable terms; they are not a blanket promise attached to every account or model. Adobe Firefly API
Ideogram: text-led layouts and revision
Ideogram deserves a trial for posters, promotional graphics and images where lettering matters. Its current Ideogram 4.5 page documents generation with references and targeted editing. The vendor also publishes comparative editing claims, but those should not be treated as an independent universal ranking.
Its Layerize Text workflow turns detected lettering into editable text layers inside Studio. It is in beta, uses credits and reconstructs the background beneath the text. Review both the extracted words and the reconstructed area. The rest of the artwork does not automatically become editable objects, and this Studio workflow does not export an editable PSD or SVG document. ideogram.ai
FLUX.2: configurable generation and editing
Black Forest Labs’ model guide documents FLUX.2 variants with multi-reference editing and text rendering, including flex for finer control and typography-focused work. It also distinguishes image models from FLUX 3 video generation.
FLUX.2 is worth considering when model choice, integration or deployment matters alongside appearance. Check the exact variant and host: reference allowances, controls and licences differ. Local availability is not the same as unrestricted commercial permission. Use references to evaluate subject continuity, then inspect text and product details at full size. Black Forest Labs Knowledge Base
The decision image below summarises where to begin and what to verify. It is an editorial selection aid, not a scored benchmark. No single option has been established here as best across all six criteria.
Workflow 1: Create a professional image from scratch
Start with a job, not a pile of style adjectives. Specify where the image will appear, what the reader should notice and where copy will sit.
- Write the acceptance brief. Name the subject, count, setting, composition, lighting, aspect ratio and exclusions.
- Generate alternatives. Change one useful variable, such as viewpoint or lighting direction.
- Choose for structure. Reject incorrect objects and awkward geometry before polishing the colour treatment.
- Edit the selected image. Fix one problem at a time and retain approved versions.
- Finish and export. Add critical copy as editable typography, crop for placement and inspect the exported file.
Reusable creation prompt:
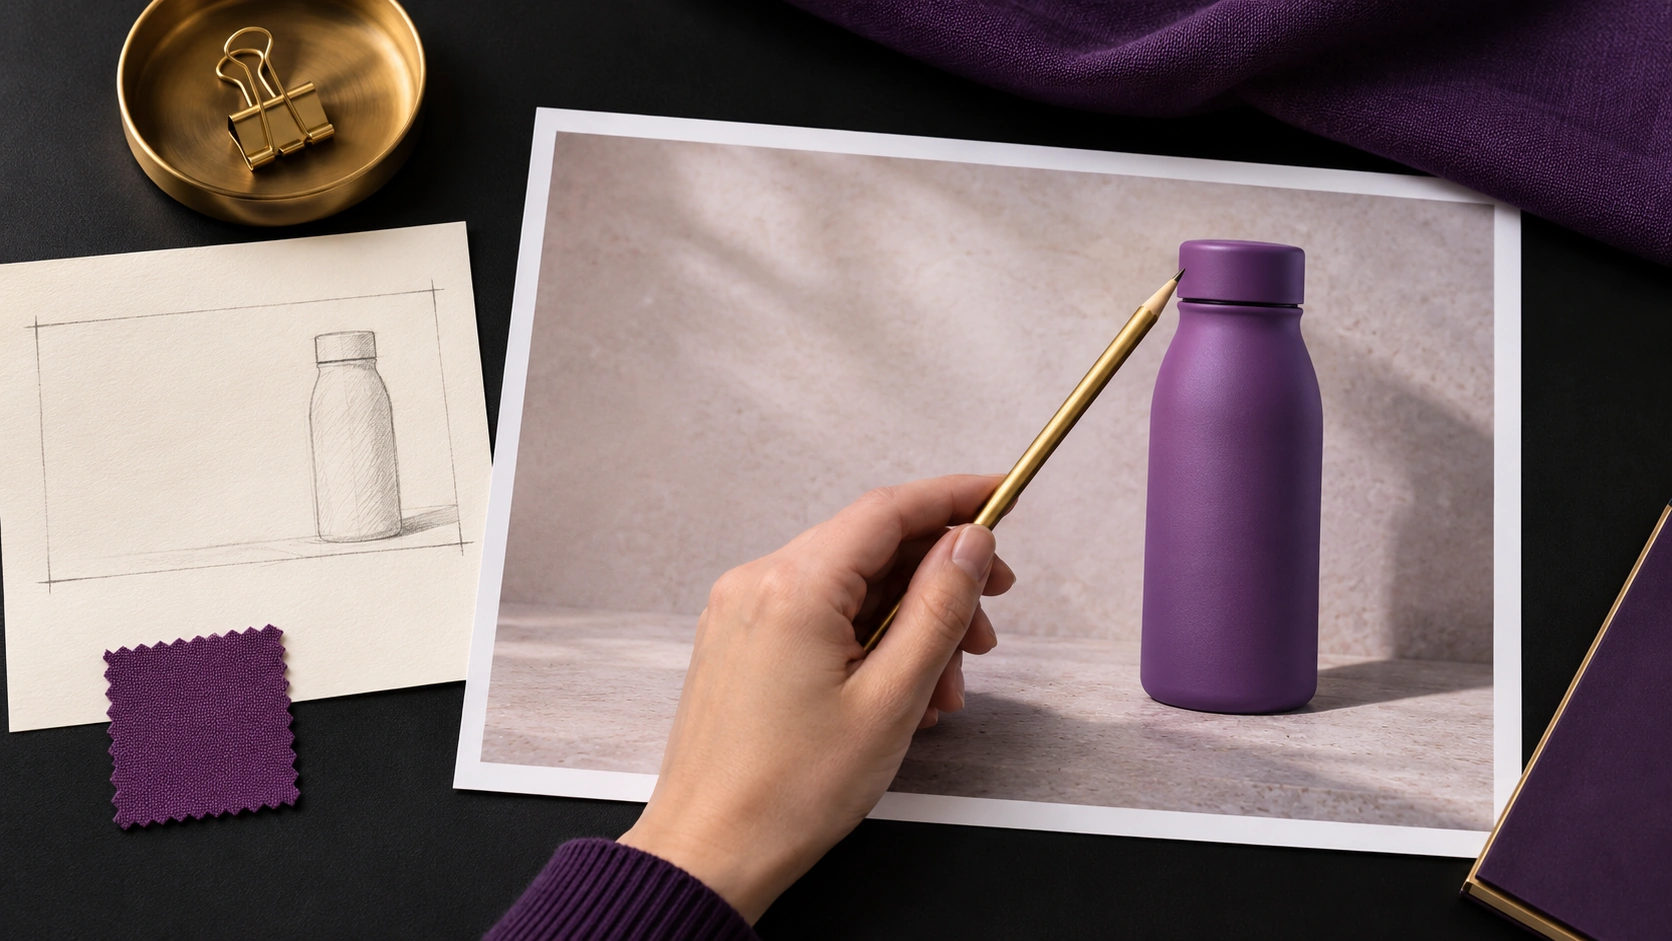
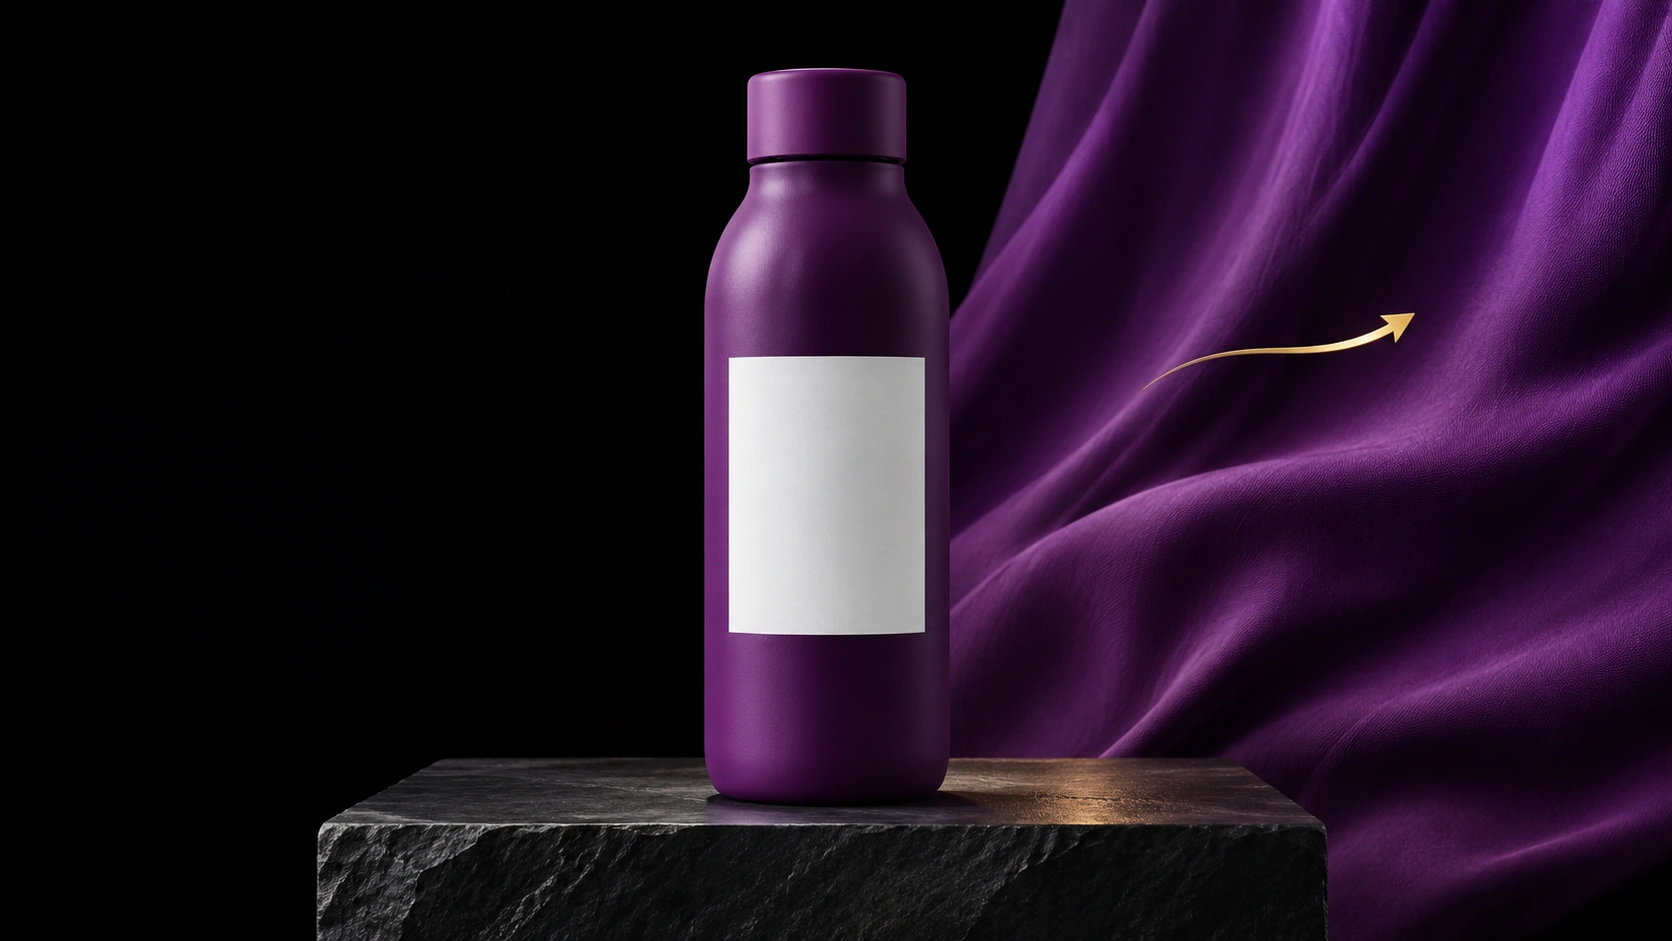
Create a [16:9] editorial product image of [one unbranded reusable bottle] for [a sustainability blog]. Place it [on the right third] on [a matte stone surface]. Leave [the left third] uncluttered for a headline. Use [soft side lighting], realistic materials and plausible reflections. Show exactly [one bottle and one cap]. Use [charcoal, purple and restrained gold] in the surroundings. Include no lettering, watermark or extra objects.
Replace the bracketed details with your own requirements. If the product is real, move to the next workflow. A generated lookalike may invent a seam, change the cap or misrepresent the finish.
Workflow 2: Transform an existing image without losing the subject
For a real product, begin with an approved photograph. Keep an untouched master and identify the parts that must remain accurate.
- Prepare the source. Use a sharp image with clearly visible edges and sufficient detail for the final placement.
- Define the edit boundary. Select the background or unwanted object when the tool provides a mask or selection.
- State the change and the invariants. Mention shape, label, seams, perspective and lighting where relevant.
- Compare with the master. Check silhouettes, lettering, reflections, contact shadows and small fixtures.
- Finish selectively. If exact fidelity is essential, use a conventional editor to composite the original product over the approved generated background.
Reusable editing prompt:
Edit the uploaded photograph. Replace only [the background] with [a dark studio backdrop and a soft purple light gradient]. Preserve the bottle’s silhouette, cap, surface texture, label wording, seams, orientation and proportions. Match the new background lighting to the existing product. Do not add objects or redesign any product detail.
This instruction expresses the desired result; it does not guarantee untouched pixels. Use masking and comparison, not wording alone, to protect important content. Restart from the last approved version if successive edits introduce drift.
For an illustrative transformation, state the intended freedom explicitly: “Convert the scene into a paper-cut illustration while preserving the subject’s pose and the composition.” That is a different task from preserving a product photograph.
Keep characters consistent across a series
Character consistency means retaining recognisable identity across images. It differs from style consistency, which concerns palette, texture and rendering treatment.
Create a reference pack with an approved front view, three-quarter view, silhouette and defining details. Keep a short written description beside it. Reuse the same references and model version, and change one scene variable at a time. Avoid repeatedly using a slightly altered output as the next identity reference.
Reusable continuity prompt:
Use the attached approved character references. Create the same [small fox explorer] in [a library], holding [a closed book]. Preserve [the triangular ear shape, cream muzzle, short tail and purple scarf]. Keep the established proportions and illustration treatment. Change only the pose, expression and setting. Do not add accessories or alter the clothing.
Judge the series together. A face can look convincing in isolation yet feel like a different character beside the previous frame. When consistency fails, simplify the camera angle or pose before increasing the complexity of the scene.
Workflow 3: Animate a checked still
Still-image quality does not establish video quality. Animation adds time, camera motion and the possibility of changing geometry between frames.
Midjourney’s video documentation describes image-to-video generation from a starting image and low or high motion controls. Google’s Veo 3.1 reference-image update describes Ingredients to Video for reference-guided clips. These are separate animation workflows from generating a still. Midjourney
OpenAI’s Images 2.6 system card also documents GIF generation. ChatGPT’s help page says the feature is rolling out, can animate a still and cannot edit an uploaded animated GIF. Check actual account availability before building a delivery promise around it. OpenAI Deployment Safety Hub
For production, approve the still first. Choose image-to-video or GIF creation as appropriate, attach that approved image and request one restrained movement. Review the whole output, including intermediate frames and the ending. Add exact labels and campaign copy after animation when their stability matters.
Reusable motion brief:
Animate this approved still. Keep the bottle stationary and preserve its silhouette, label and cap throughout. Introduce only a subtle movement in the background curtain. Keep the camera fixed. Add no objects, lettering or scene transitions.
For an initial trial, a quiet background movement is easier to assess than a rotating product with a moving camera. If geometry drifts, reduce motion or use conventional motion graphics for the required effect.
Checks that make an image publishable
Inspect the final exported file at full size and at the size readers will see. Check crop boundaries, small text, fingers, product seams, shadows and repeated objects. A high-resolution export is not proof of accurate detail.
For text-heavy designs, request the exact wording in quotation marks, keep it short and proofread independently. Treat a generated logo as a concept until it has been rebuilt and reviewed for its intended use.
Before uploading client assets or identifiable photographs, check permission and the service’s current privacy and usage terms. Before publication, check the selected model and plan’s commercial-use conditions. Keep your source assets, approvals and model details with the project. An AI illustration should not be presented as documentary evidence of a real event or an authentic product photograph.
Key takeaways
- Choose an AI image generator against the task and its revision requirements.
- Evaluate appearance, instruction following, editing, continuity, text and motion separately.
- Use approved references and retained versions to control drift.
- Preserve real product details through comparison and selective compositing.
- Approve the final export, including every part of an animated clip.
FAQ
What is the best AI image generator in 2026?
Which AI image generator should I try for text?
Can I keep the same character in every image?
Can AI change a background without changing the product?
Can an AI image generator animate a still?
Can I use AI-generated images commercially?
Choose the tool that survives revision
Start with two candidates and one real brief. Select the workflow that gives you an accurate image, a manageable edit process and a reliable final export. A repeatable approval process will serve you longer than a favourite model name.